
Description
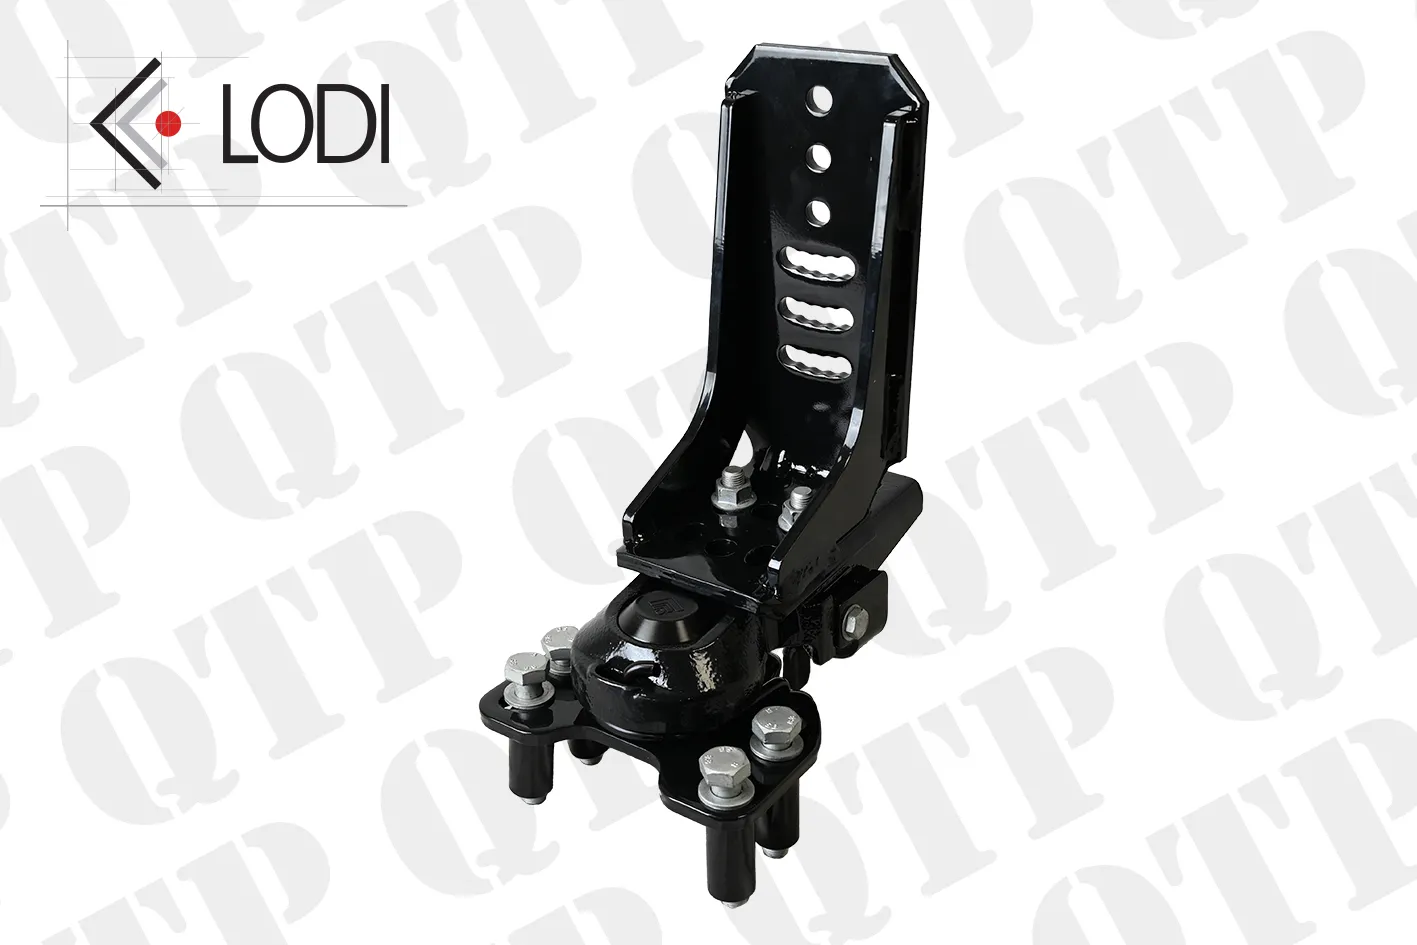
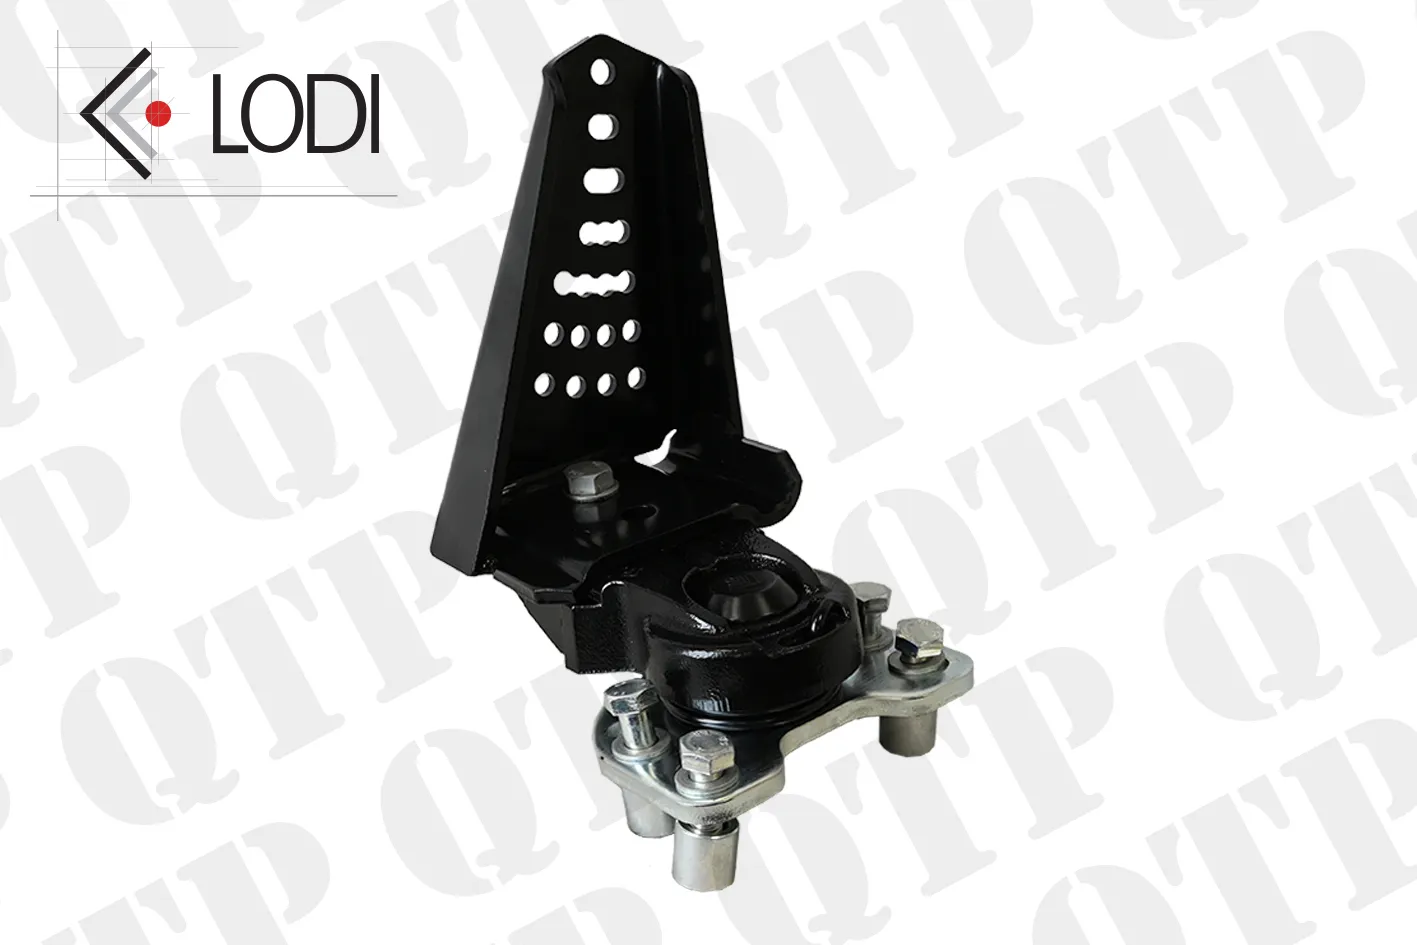
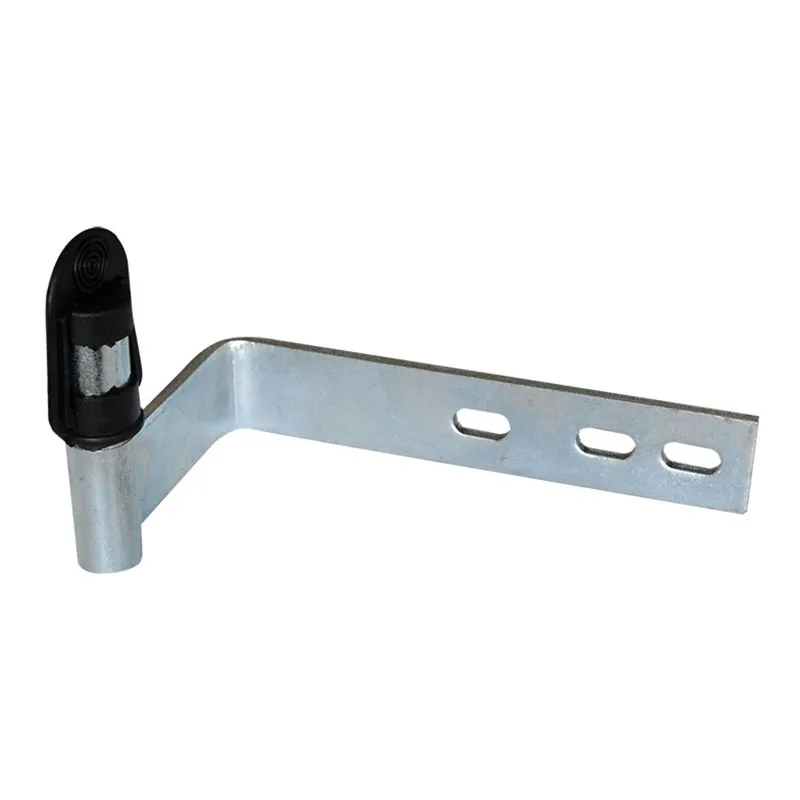
When your mudguard stops pivoting smoothly with the front wheels and starts binding up during turns, you’re dealing with a worn pivot assembly. That grinding noise when you turn isn’t your imagination—it’s your mudguard bearing telling you it’s time for replacement. When these pivot bearings start wearing out, you’re looking at more than just annoying noise. That metal-on-metal grinding damages your fenders and mounting brackets, and what starts as a $20 bearing replacement can turn into expensive bodywork or welding repairs if you put it off too long. This left-hand pivot keeps your mudguard moving freely as it follows the front wheel steering motion, protecting your tractor and keeping debris where it belongs.
What You’re Getting
- Smooth pivoting action that follows your front wheel steering precisely
- Heavy-duty construction designed to handle the constant turning and flexing
- Direct replacement for worn pivot assemblies without modifications
- Quality materials that resist corrosion from mud, moisture, and road salt
- Proper fit that eliminates the binding and grinding of worn components
Built for Real Farm Work
This bearing fits the workhorses that handle everything from tight barn maneuvering to headland turns with wide implements. Whether you’re running a New Holland T6 series utility tractor, operating a T7 for heavy field work, using a Case Maxxum for loader duty, or working with Steyr CVT models, those front mudguards pivot every time you turn the steering wheel. These are the tractors pulling planters through spring fields, navigating around buildings with loaders, and making countless turns during cultivation and harvest.
Made to Last
Mudguard pivots deal with constant movement, road vibration, and exposure to everything the field throws at them. This replacement is built to handle the stress of daily farm work without the binding and noise that develops when bearings wear out. That metal-on-metal grinding damages your fenders and mounting brackets, and what starts as a $20 bearing replacement can turn into expensive bodywork or welding repairs if you put it off too long.
Installation Notes
The old bearing typically needs to be pressed or carefully driven out—patience beats brute force here to avoid damaging the mounting bracket. Clean the mounting area thoroughly before installing the new bearing, and a light coating of grease helps with installation. While you’ve got things apart, check the opposite side since these bearings usually wear at similar rates. Also inspect your mudguard mounting bolts and brackets for any cracks or elongated holes that might need attention.
Reviews
There are no reviews yet.